Sunday, May 27, 2012

How to Create a Google Custom Search

Google custom search engine very useful widget if you set it up on the blog that we manage, because in addition to more relevant and easy to use, google custom search engine can be set to track the keywords that exist only on your blog / website. How to Create a Google Custom Search ?

To create a Google Custom Search, follow these steps:
Log in using Google Account. If you do not have a Google Account, may have to register first.
Go to the Google Custom Search Engine with the address www.google.com/cse.
Click the Create a Custom Search Engine or Create Custom Search Engine in the upper right corner.
Set the search engine configuration to be created by filling in the columns provided. Start the name (I write here: mastugino.com), description (I wrote: Sharing Information, Science and Collectibles Blog Tutorial), language (I chose English), sites to search (can be a single site or multiple sites at once. Here I just fill a blog url that is http://www.mastugino.com/), select the edition (free or paid, I choose free), and do not forget to tick the service agreement. And then click next.
Will open a new page :
1.  You can choose the style and look, there are seven styles. Click on that you like 
     (I chose "bubblegum") and will be displayed in the preview below.
2.  Click "next" at the bottom


Copy the code in the box, and put in your blog : Go to your dashboard >>layout >>add a gadget >> html/javascript gadget >>paste the code and save the widget. Your search widget will appear in the sidebar like this :

Posted by: Denmas Tugino
Godheg Updated at: Sunday, May 27, 2012

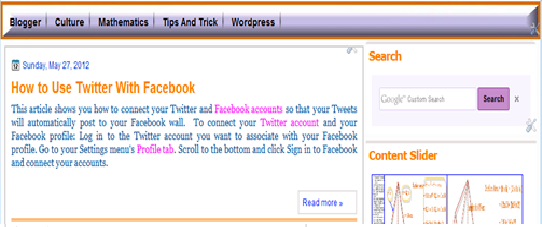
How to Use Twitter With Facebook

This article shows you how to connect your Twitter and Facebook accounts so that your Tweets will automatically post to your Facebook wall.  To connect your Twitter account and your Facebook profile: Log in to the Twitter account you want to associate with your Facebook profile. Go to your Settings menu's Profile tab. Scroll to the bottom and click Sign in to Facebook and connect your accounts. 


When prompted, select the privacy settings for who will see your Tweets posted to your Facebook wall. It is set to public by default. 
Click Log in with Facebook and enter your Facebook login credentials, as shown below. 
Click Allow to accept permissions.

Your Tweets will now post to your profile Facebook wall and your username will be displayed there as well. Retweets and @replies will not be posted.  

Privacy note: To control who sees your Tweets and username, go to your Facebook Application settings and click Edit for the Twitter app to restrict who can see your Tweets on your Facebook wall.
If you successfully connect twitter account to your facebook account, your tweets are right on your facebook timeline automatically, as shown below:


To connect your Twitter account to a Facebook Page:
If you have a Facebook Fan Page, or are the admin of one, you can post Tweets from your Twitter account to your Facebook Page. Follow the steps below to connect to your Facebook profile. In your Twitter profile settings page, Select the page you'd like to connect with (shown below).


When prompted, click to allow permission to post to the selected Facebook Page.

Posted by: Denmas Tugino
Godheg Updated at: Sunday, May 27, 2012

How to Make an External Link in Blogger

Link is a way of linking the address of the site with other sites to link your website address in the text or images. The text actually contains a link if the destination site address. If the text is plain text only, then it is not a link. Internal link means a link that leads to the url address in the same blog or easy terms could be called a link that leads to another post within the same web site. External links are links that point to other people's web/blogs, so what's the difference with the internal link external link is the purpose of installation of the link.
How to Make an Internal Link in Blogger ?
1.  Highlight the text you'd like to turn into a link. If you do not select any text before using 
     the link button, your link will be created but without anything to click on.
2.  Click the Link button (or hit control+shift+a on your keyboard):

3.  A pop-up window will appear prompting you for a URL you'd like to link to. 
     Type the URL in the text box.
Check "Open link in new window"(if you want the link open in new window), and then press OK.

Posted by: Denmas Tugino
Godheg Updated at: Sunday, May 27, 2012

How to Copy a Post in Wordpress Blog

How to Copy a Post in Wordpress BlogIt takes much work to get a post just right. Why not reuse that effort? Copy A Post lets you duplicate a post, including the title, contents, tags and categories, so you can start a new post without having to re-enter tags, categories and formatting. Copy a Post appears within the Writing Helper module below the Editor on the Add a Post screen. To use Copy A Post, click on the button and it will open right in place.


How to copy a post ?
1. Go to your dashboard >> post >> copy a post;
2. Select one of your post that want to copy.


If you already have a post in progress and want to keep it, make sure to save the post before hitting Copy. After hitting copy  the post will look like this :
Set the post title, categories, tags and other properties as you wish, and then publish the post.

Posted by: Denmas Tugino
Godheg Updated at: Sunday, May 27, 2012